
The Paris Photography Guide
When I first arrived in Paris in 2015 with my camera bag and a list of "must-shoot" locations from every travel blog, I thought I knew what I was doing. I had just picked up photography seriously and felt pretty confident with my camera.
But Paris? Paris humbled me completely.
Those first few days, I fought crowds at Trocadero, waited in endless lines at tourist viewpoints, and came home with the same tired shots everyone else had. It wasn't until a local photographer whispered a simple tip about Montparnasse Tower's extreme left positioning that everything changed. Suddenly, I wasn't just another tourist with a camera, I was shooting Paris like someone who actually knew the city.
That was nearly a decade ago. Since then, I've returned to Paris many times, each visit teaching me something new about the city and about photos themselves. Paris remains special. It's the city that taught me the difference between taking photos and creating photos.
Why Most Paris Photography Guides get it wrong?
90% of Paris photography guides are written by people who spent a weekend in the city, shot the obvious spots, and called it expertise. They'll tell you to "arrive early" at Trocadero without mentioning that the sunrise comes diagonally behind the Eiffel Tower, creating the most magical backlighting you've ever seen. They'll recommend Montparnasse Tower but won't tell you that positioning matters more than timing.
The pressure to find something unique led me to dig deeper, ask locals, and spend hours in locations that most tourists pass by without a second glance.
The real Paris photography spots aren't secrets because they're hidden, they're secrets because they require patience, positioning, and a willingness to see the city like a local, not a tourist.
The Hidden Spots Worth Discovering

The Louvre - Twilight Magic
Metro Station: Palais-Royal – Musée du Louvre (Lines 1, 7)
Best Time: Twilight - when sunset happens and lights come up
The Secret: Walk towards Pont des Arts side for sunset views
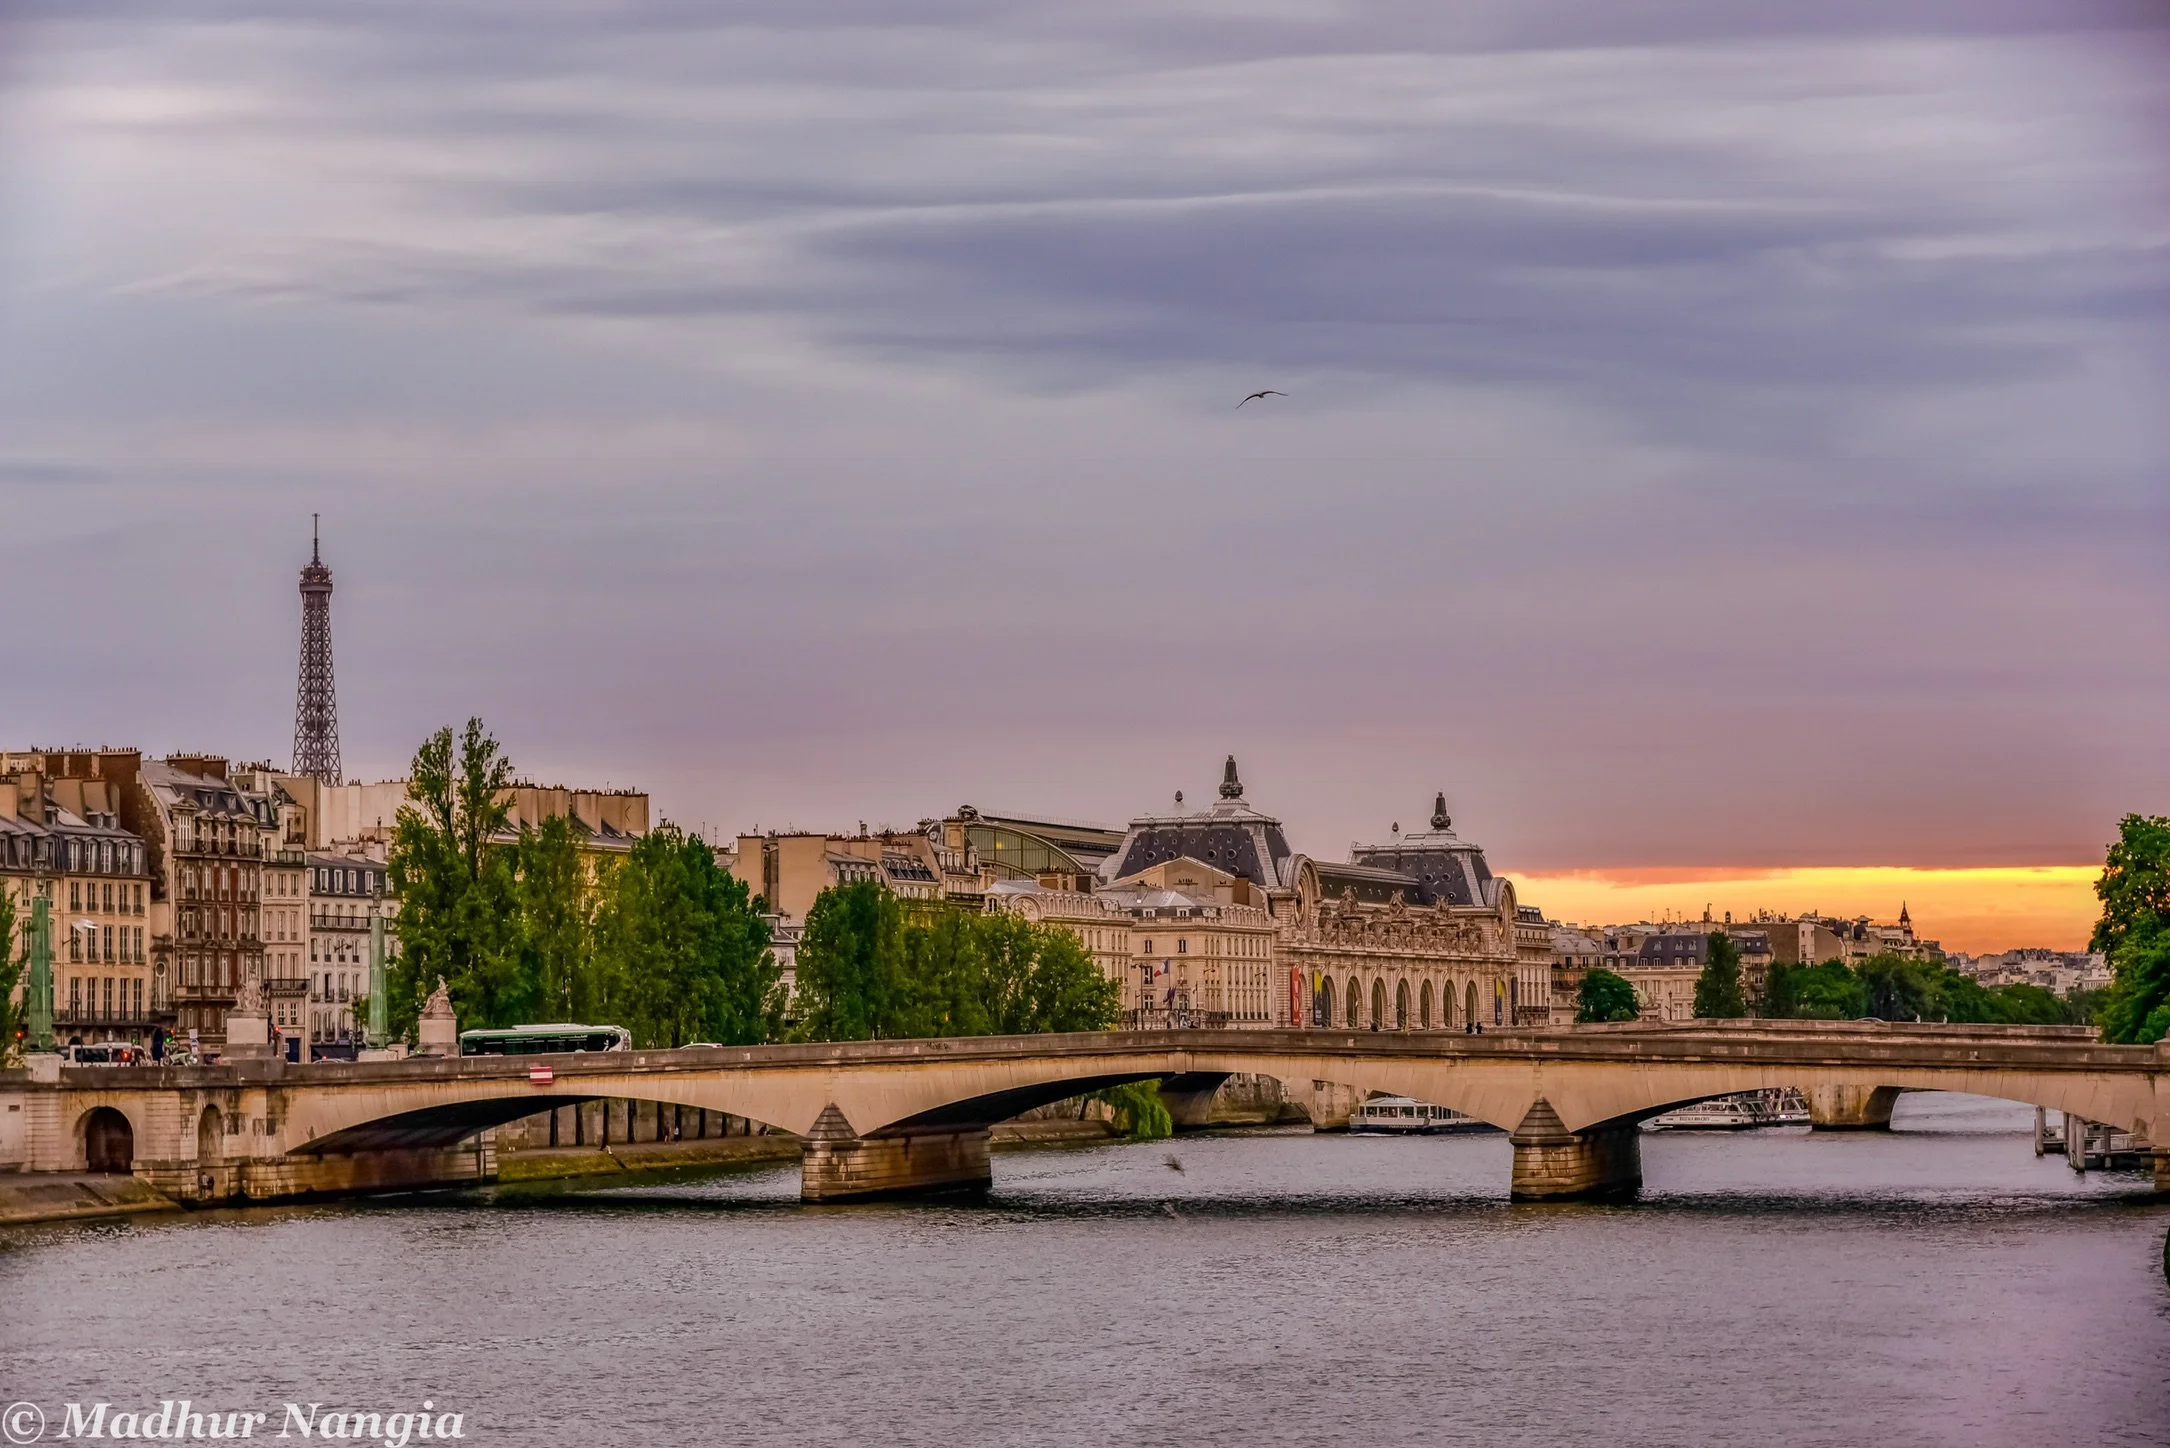
The Louvre's glass pyramid gets photographed a million times a day, but most people miss the best time to shoot it. Forget the midday crowds—come at twilight when the sun sets and the pyramid lights start glowing. The crowd gradually decreases, and you get this magical transition from daylight to the illuminated pyramid.
The positioning secret: When you walk out towards the Pont des Arts side, you get lovely sunset views over multiple bridges with the River Seine flowing beneath. This gives you way more than just the pyramid—you capture the entire Parisian riverside atmosphere in one frame.
Why twilight works: The natural light from the sunset combines with the artificial lights coming up, creating this perfect balance that makes the architecture really pop. Plus, fewer tourists means cleaner shots.
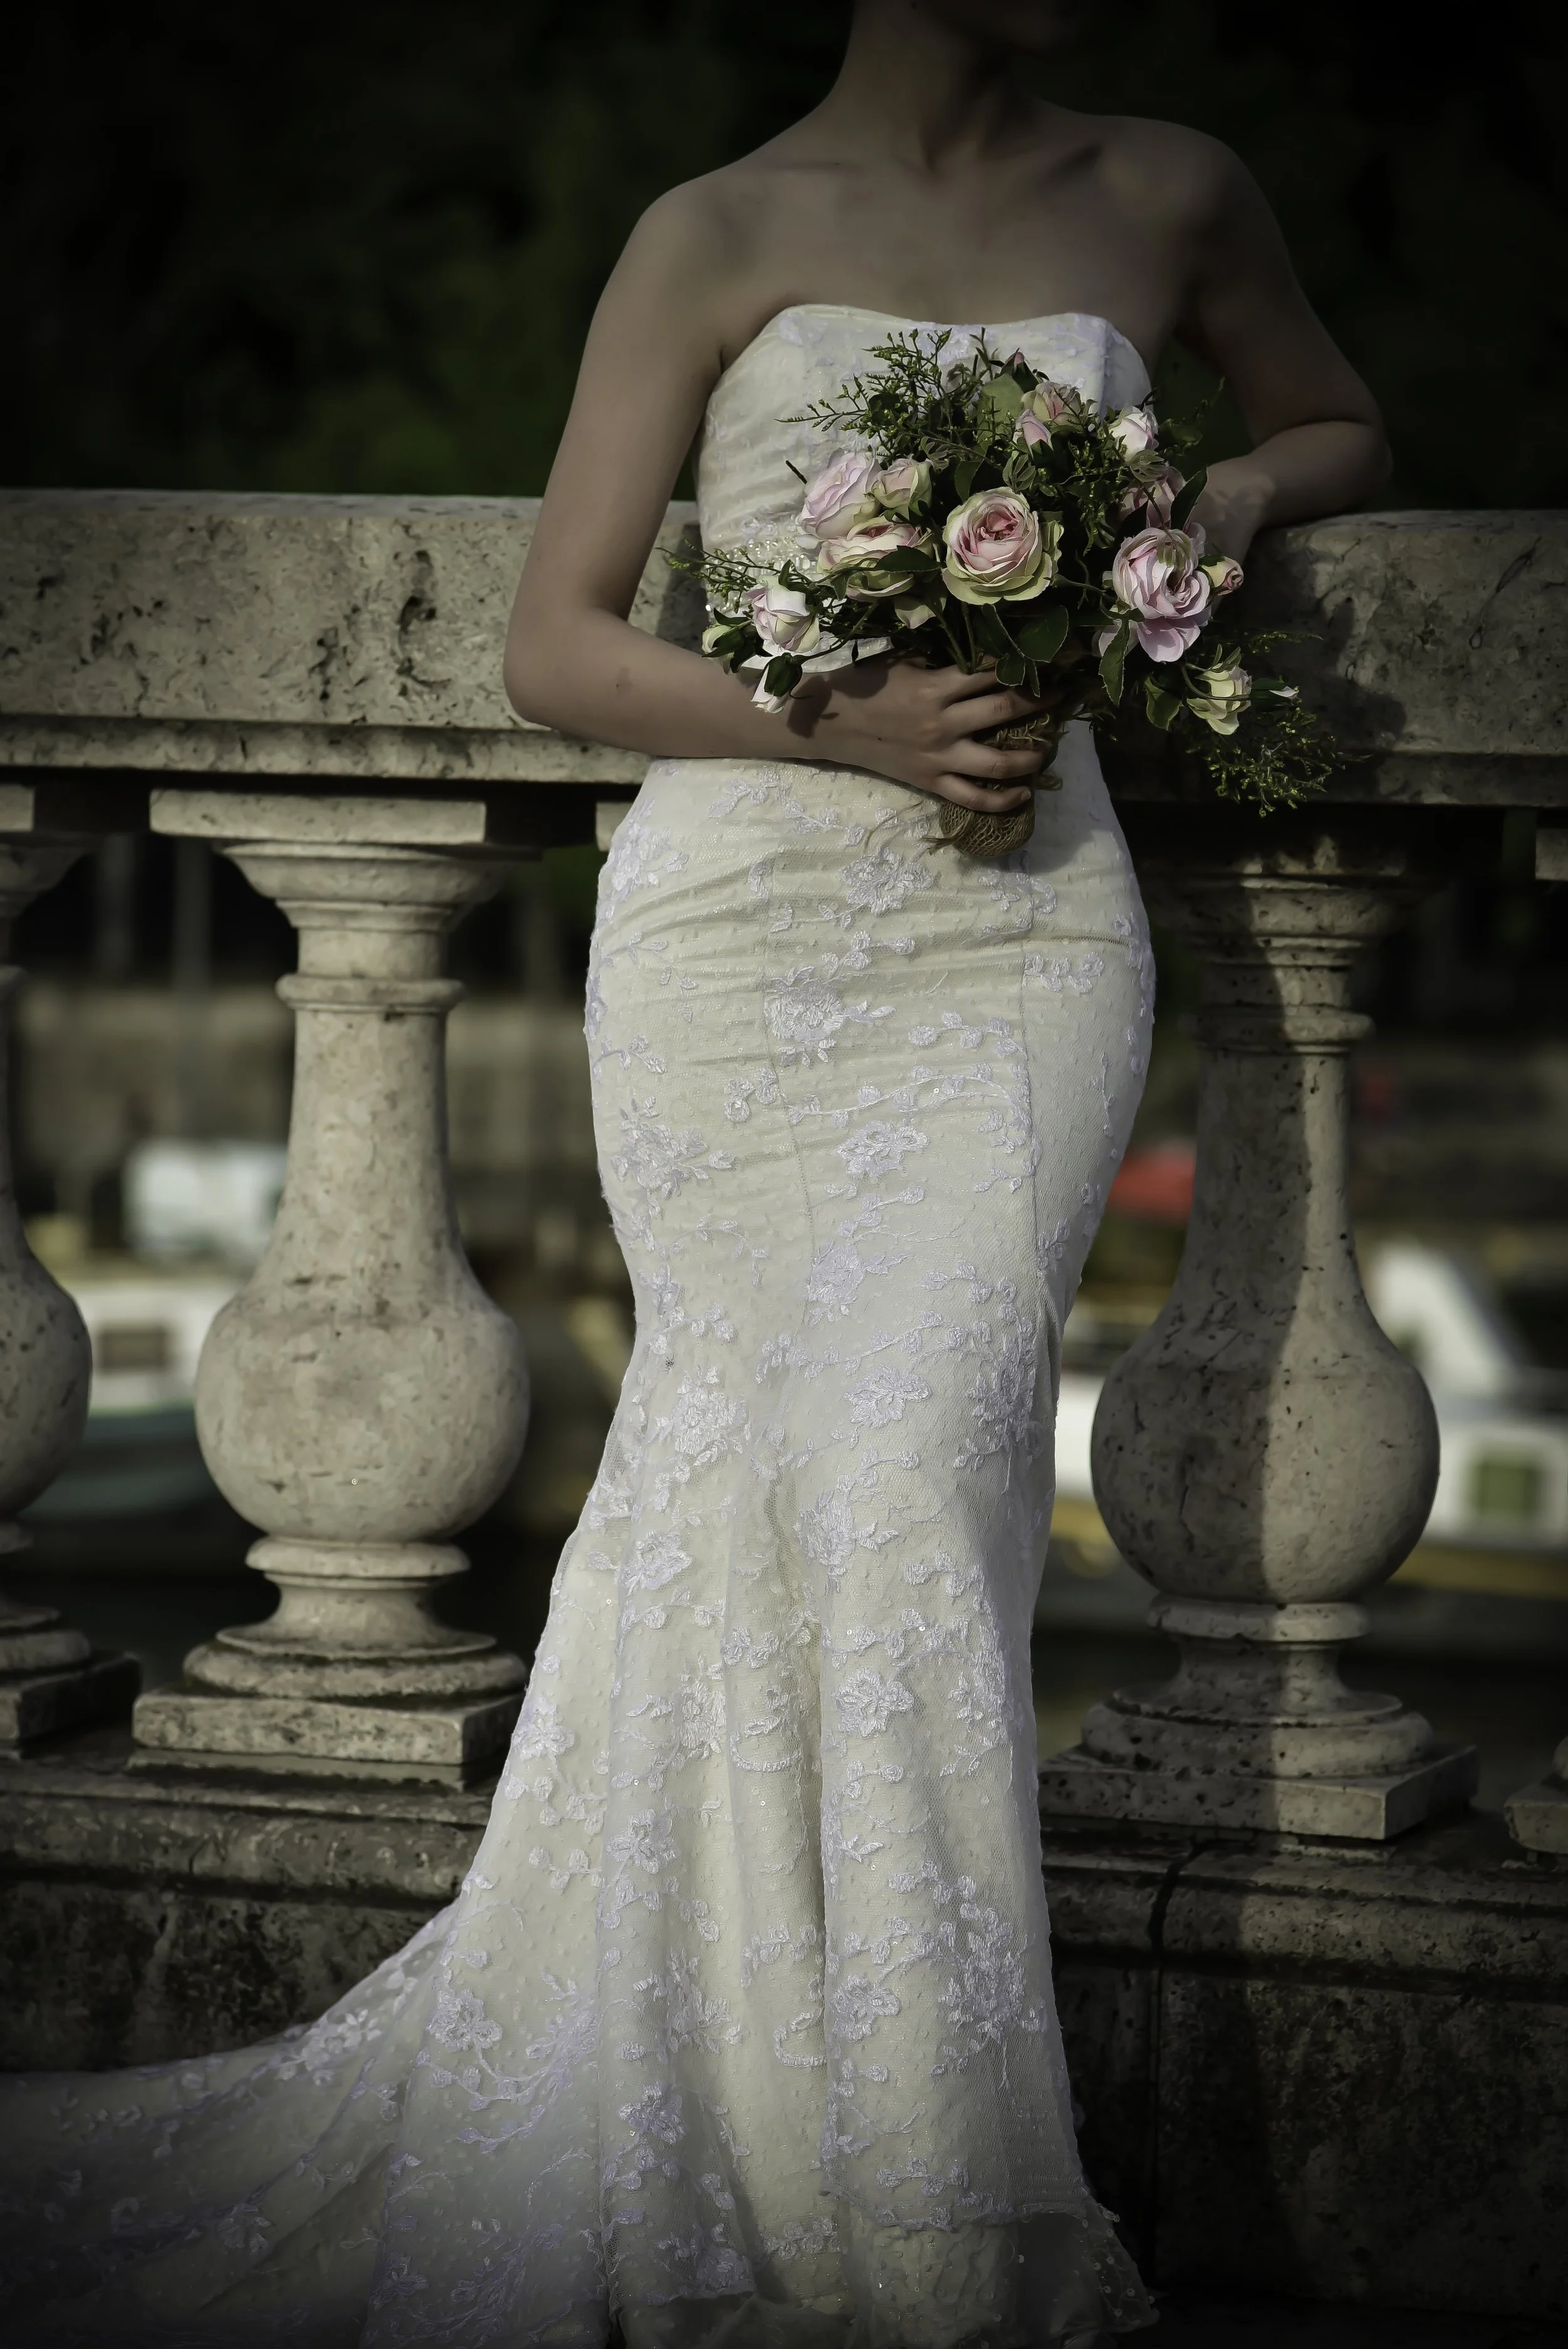
Bir Hakeim Bridge - Weekend Wedding Magic
Metro Station: Bir-Hakeim (Line 6)
The Secret: Saturdays and Sundays afternoons become an outdoor photography studio
I discovered Bir Hakeim on a random Saturday afternoon and realized I'd been missing the city's best natural portrait studio.
The bridge becomes wedding photography central on weekends. Dozens of couples book shoots here on Saturdays and Sundays, and if you position yourself thoughtfully (never intruding, always respectful), you can capture some of the most authentic romantic moments in Paris. The key is finding a spot on the opposite side of the main road—yes, the metro passes overhead, but that's part of the magic.
Technical approach: Use a longer lens (85mm or above) to compress the perspective and isolate couples against the Eiffel Tower background. The metro bridge structure creates natural framing, and the late afternoon light filtering through the iron work adds incredible depth.
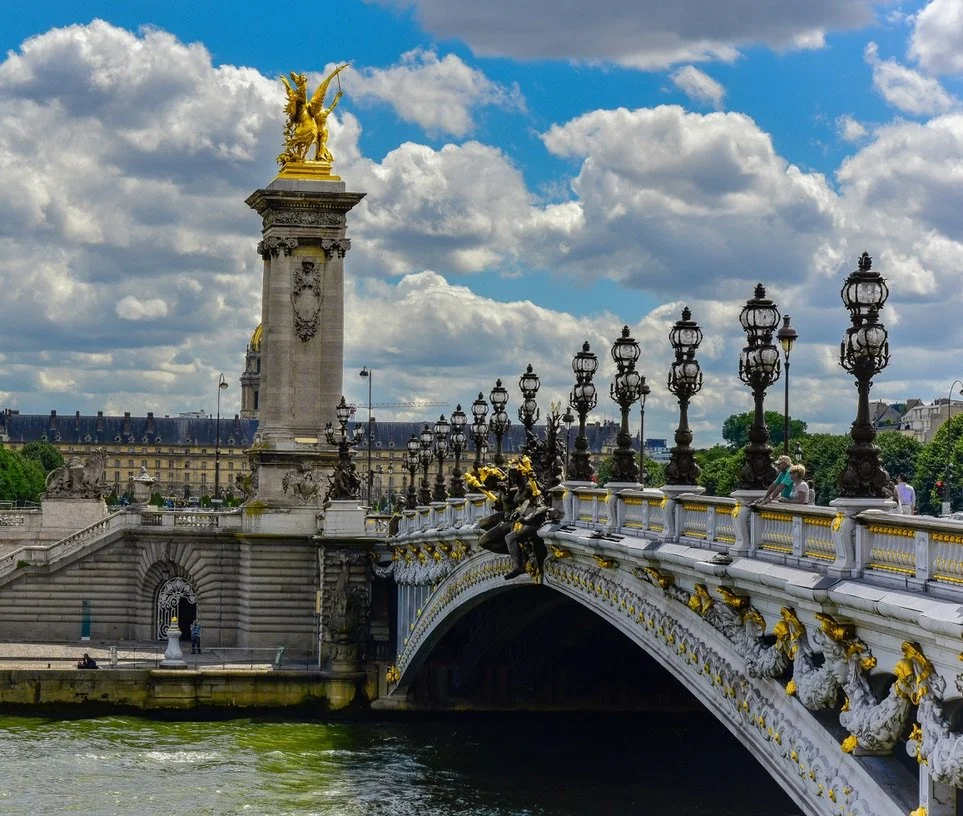
Pont Alexandre III
Metro Station: Invalides (Line 8, 13, RER C)
The Timing Secret: 45 minutes before sunset for optimal positioning
This bridge sits incredibly close to the Champs-Élysées, but most tourists rush past it heading to more famous spots. When the golden hour light hits those ornate lamp posts and the Seine reflects the warm sky, you get shots that look like they belong in a luxury travel magazine.
Positioning tip: Don't shoot from the bridge itself, shoot from the banks on either side. The lower angle makes the bridge's architectural details more dramatic and gives you better reflections in the water.

The Risky Champs-Élysées Technique (Advanced Only)
Metro Station: Charles de Gaulle-Étoile (Lines 1, 2, 6, RER A)
Warning: This technique requires serious safety awareness. I'm almost hesitant to share this because it's genuinely risky, but when executed safely, it produces some of the most dynamic Arc de Triomphe shots you'll ever see. The technique involves positioning yourself in the pedestrian islands in the middle of Champs-Élysées to capture the Arc with traffic light trails.
When it works: During blue hour when the traffic lights create flowing streams of red and white through your frame. If you're extremely lucky, you might catch the sunset aligned perfectly through the Arc , a shot that happens maybe 10 times per year.
Safer alternative: Several hotels along Champs-Élysées have rooftop bars where you can achieve similar compositions without the traffic risk. The Four Seasons and Hotel Napoleon both offer elevated perspectives that can work brilliantly.
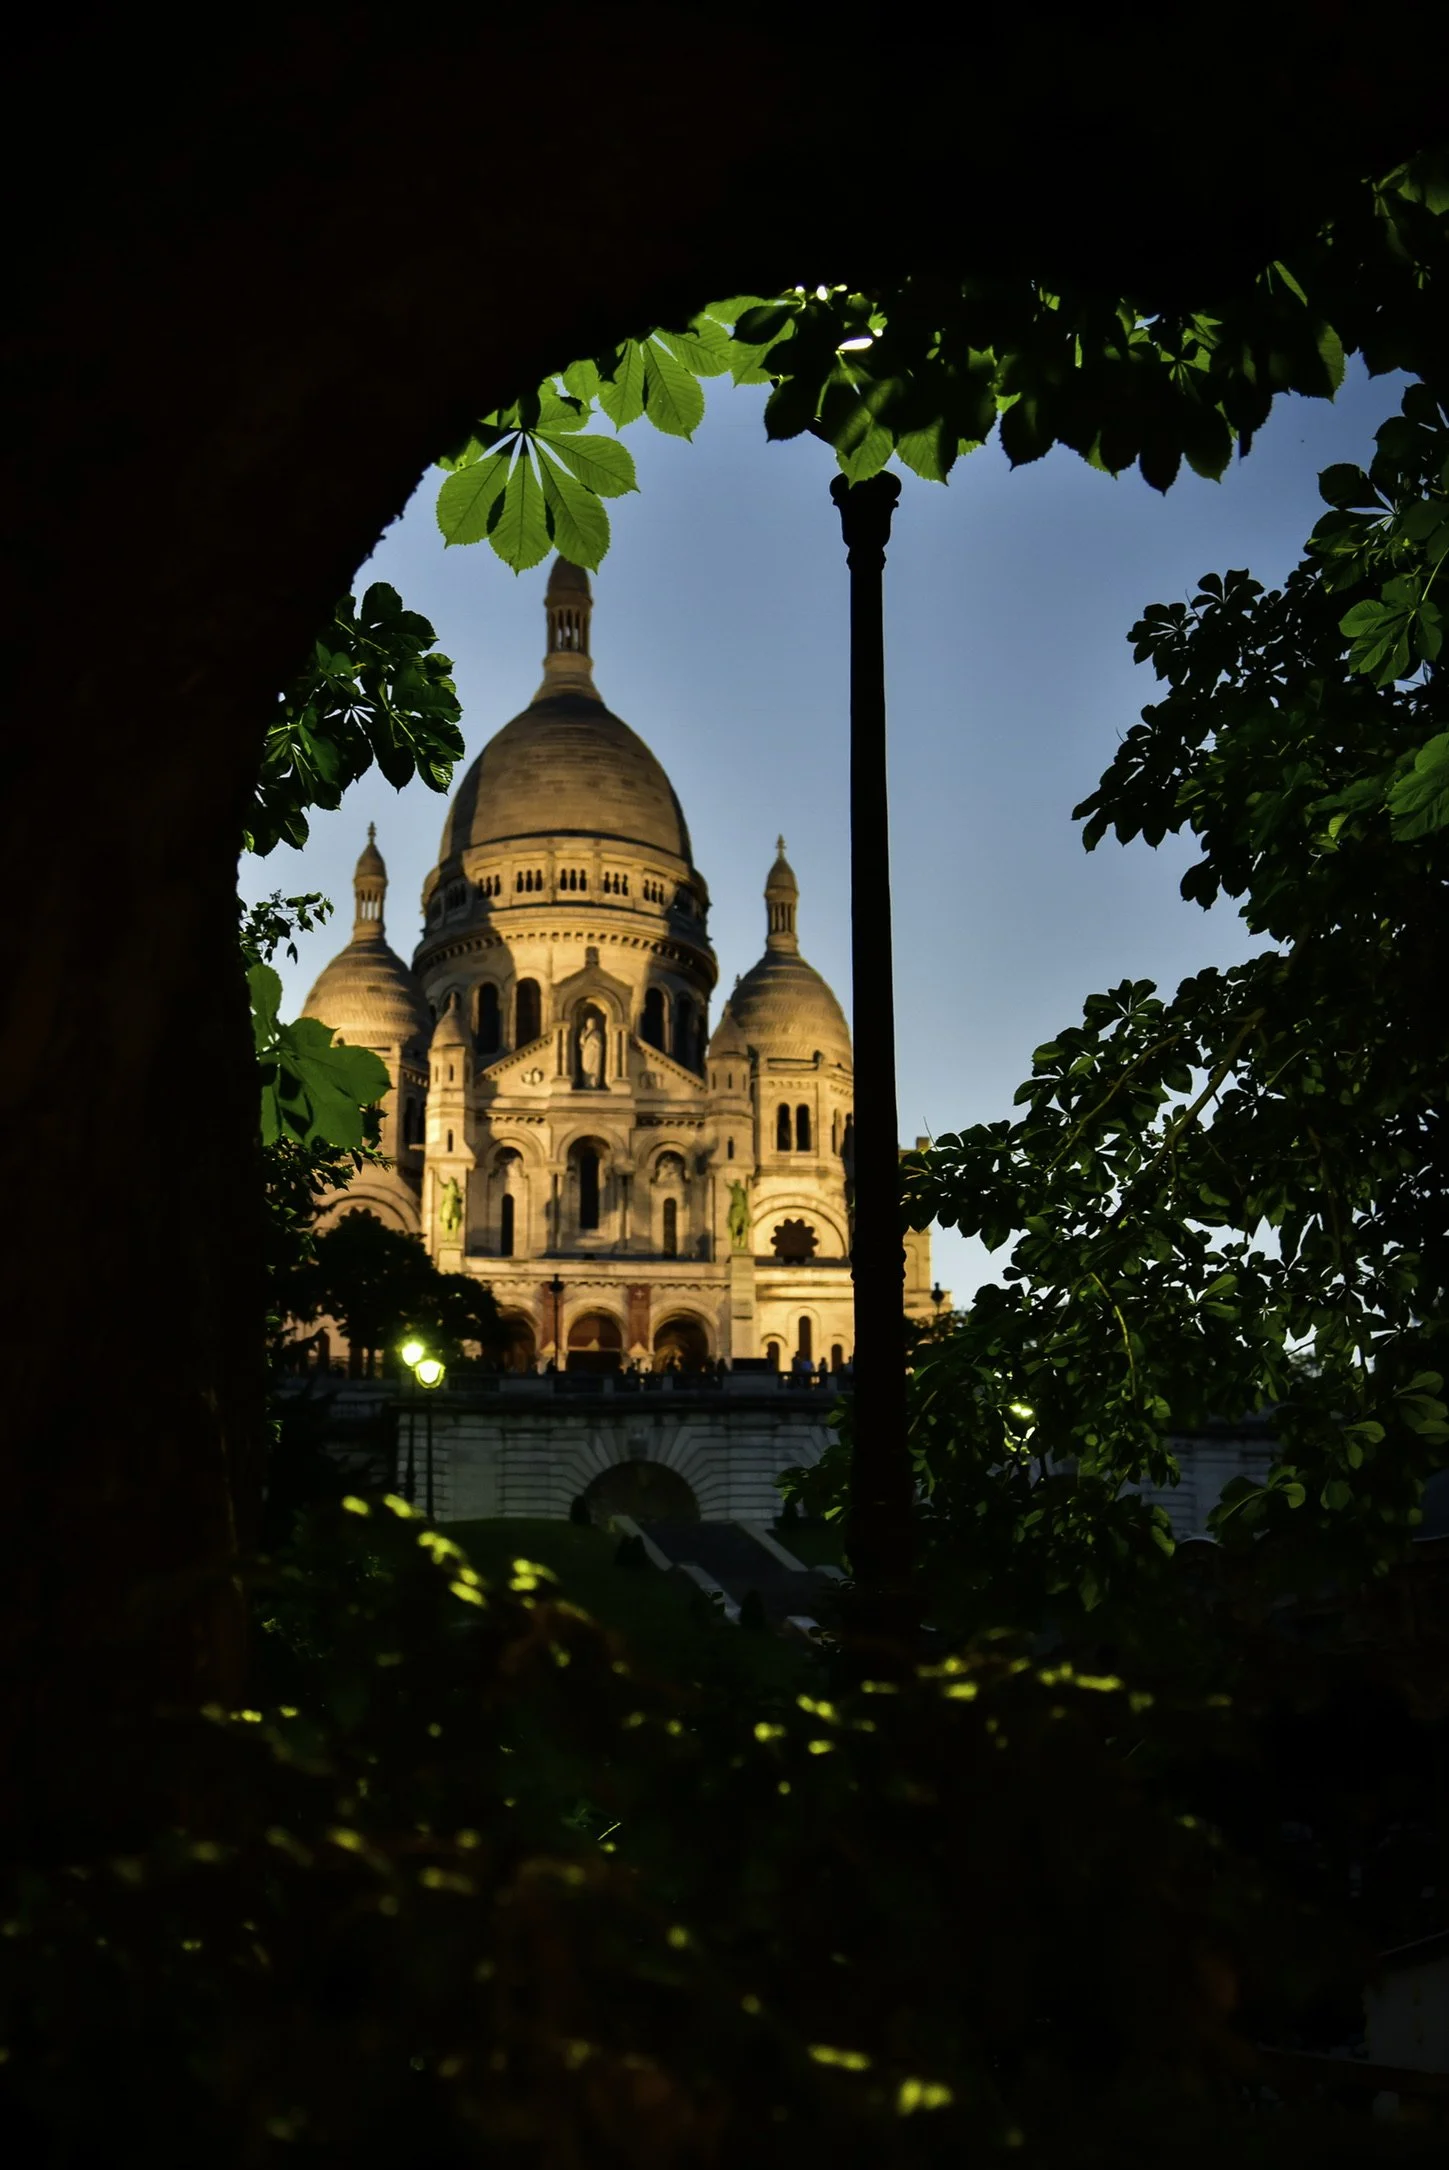
Montmartre's Hidden Back Lanes and La Maison Rose


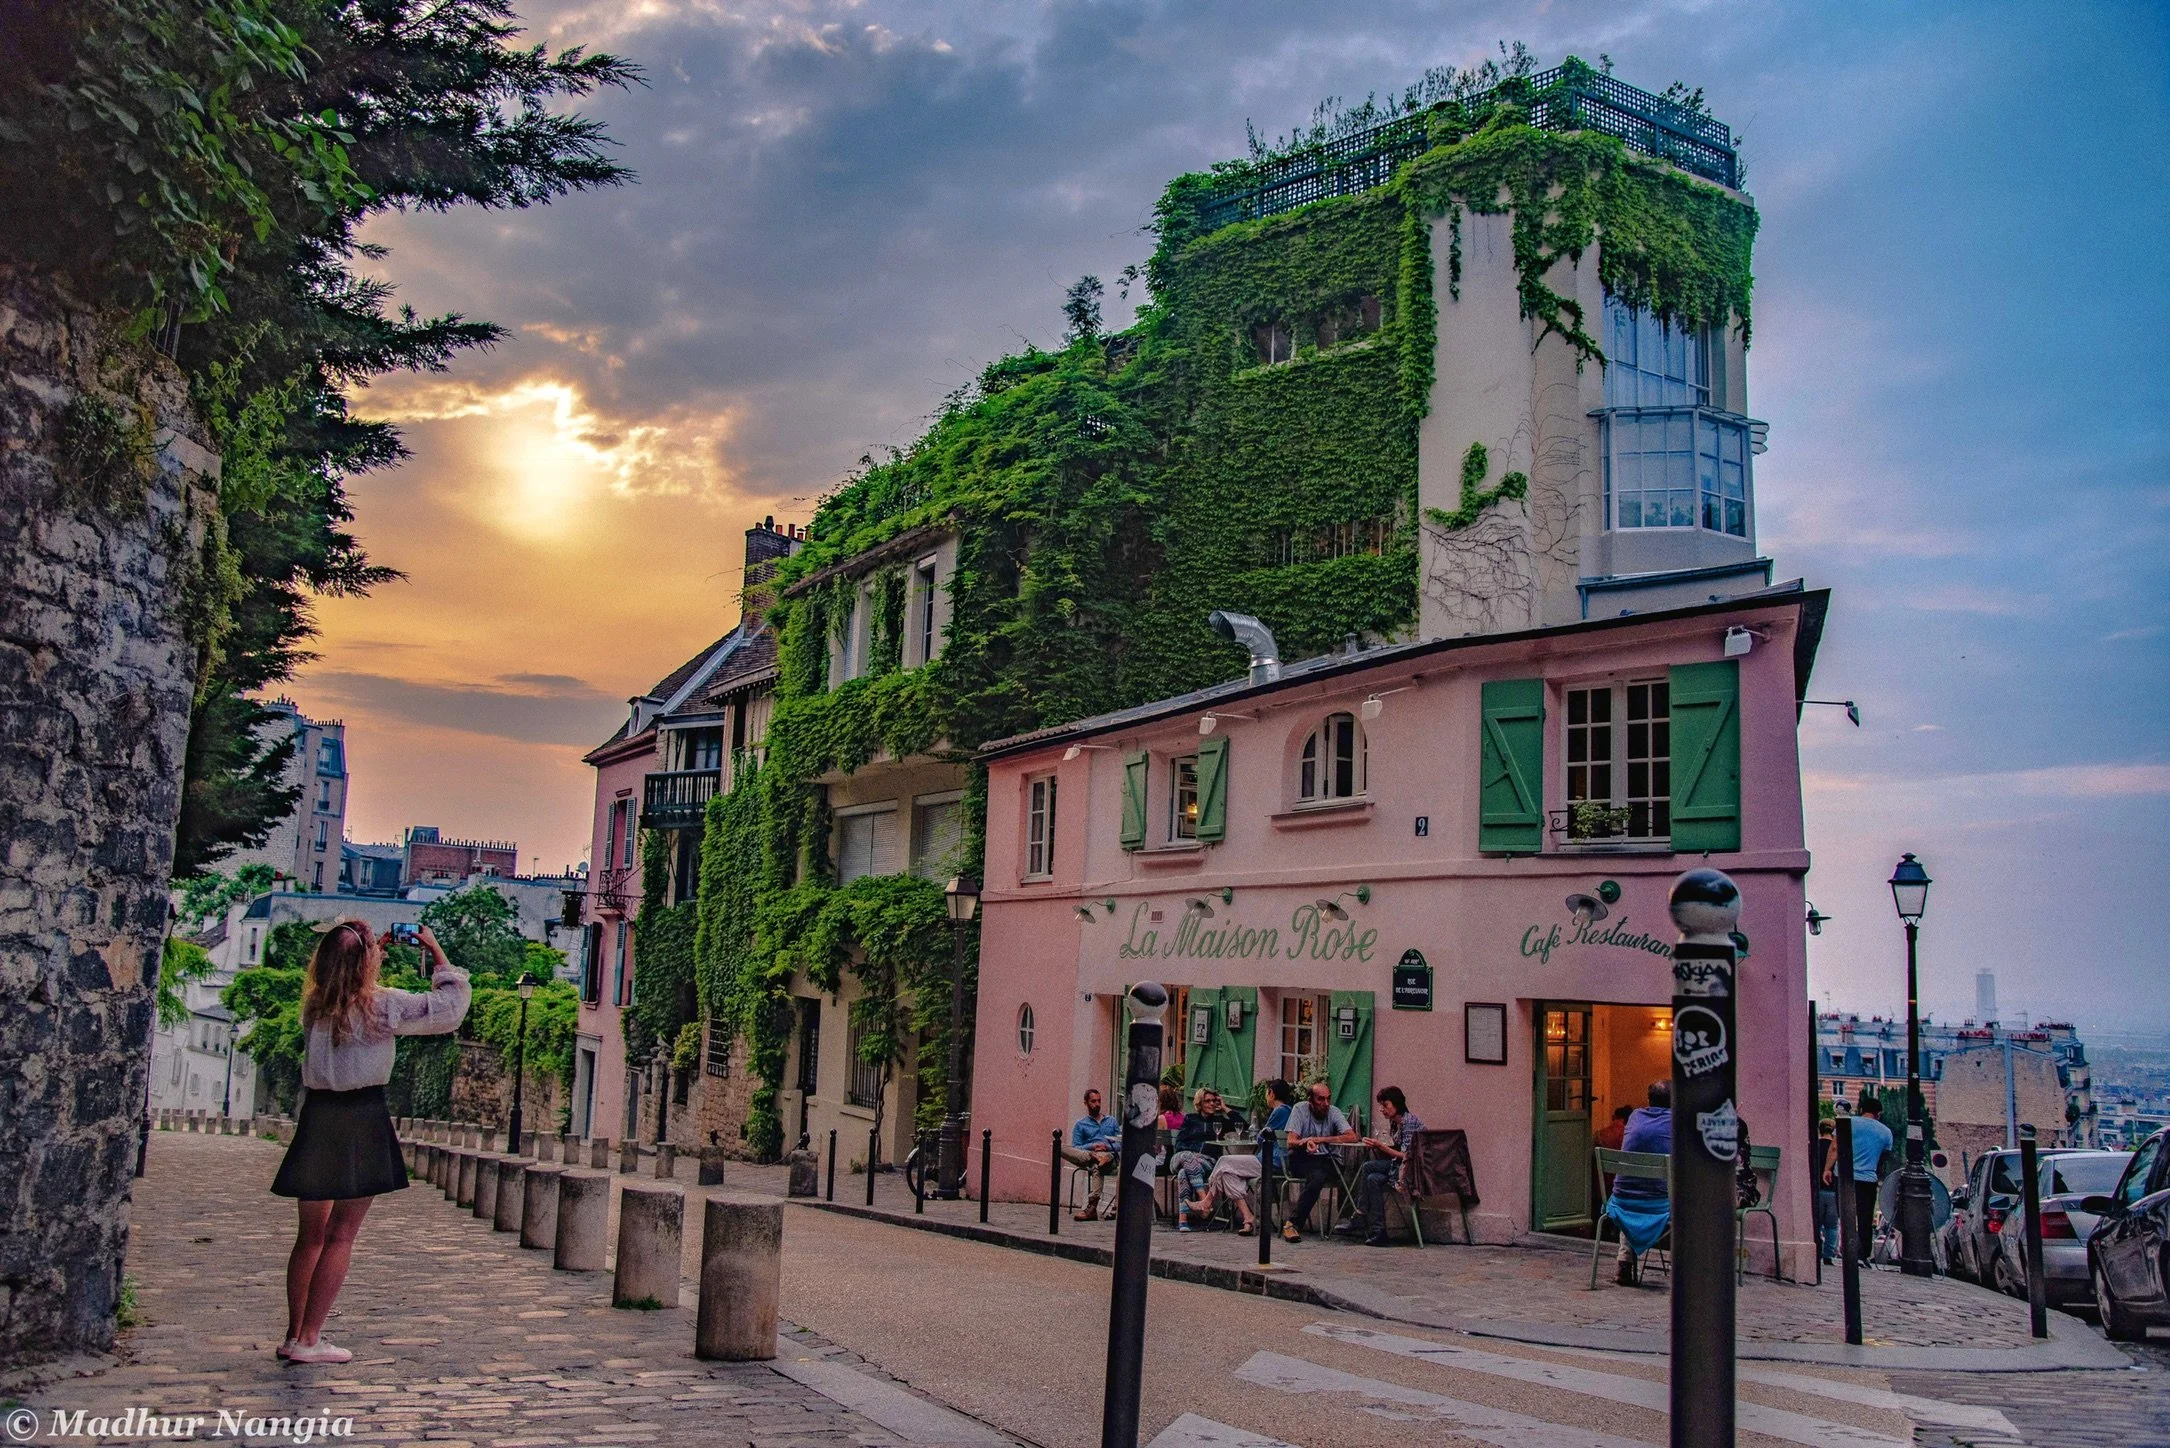
Metro Station: Pigalle (Lines 2, 12) or Abbesses (Line 12)
The Real Montmartre: Inner lanes facing Sacré-Cœur, left side
The Famous Spot: La Maison Rose on Rue de l'Abreuvoir
The typical Montmartre visit goes straight to Place du Tertre's artist square and stops there. But the real character of Montmartre reveals itself when you explore the hidden inner lanes instead.
The Secret Back Lanes
The technique: Once you're facing Sacré-Cœur, the tourist flow naturally goes right toward Place du Tertre. Go left instead. These inner lanes wind through residential Montmartre where actual Parisians live, work, and create.
The back lanes of Montmartre are where the real magic happens. Narrow cobblestone streets, ivy-covered walls, hidden staircases, and centuries-old buildings create this village atmosphere that feels worlds away from central Paris. Early morning or late afternoon, when the light filters through these narrow passages, you get incredible shadows and that golden Parisian glow on the old stone buildings.
La Maison Rose - The Famous Pink Café
You'll find La Maison Rose on the corner of Rue de l'Abreuvoir—that famous pink café you've probably seen all over Instagram. But here's what most photographers miss: the café itself is beautiful, yes, but the real shot is from slightly down Rue de l'Abreuvoir where you can capture La Maison Rose with Sacré-Cœur visible in the background through the buildings.
Best timing for La Maison Rose: Late afternoon when the pink facade catches the warm light. The café gets incredibly crowded midday, but if you come around 4-5 PM, you get better light and slightly fewer tourists blocking your shot.
The surrounding area: Don't just shoot La Maison Rose and leave. Walk through the surrounding back lanes—Rue de l'Abreuvoir itself is gorgeous with old vines draping over walls. Rue Cortot, Rue des Saules, and the small staircases connecting different levels of the hill all offer incredible photo opportunities that most tourists completely miss.
Trocadero at Dawn !
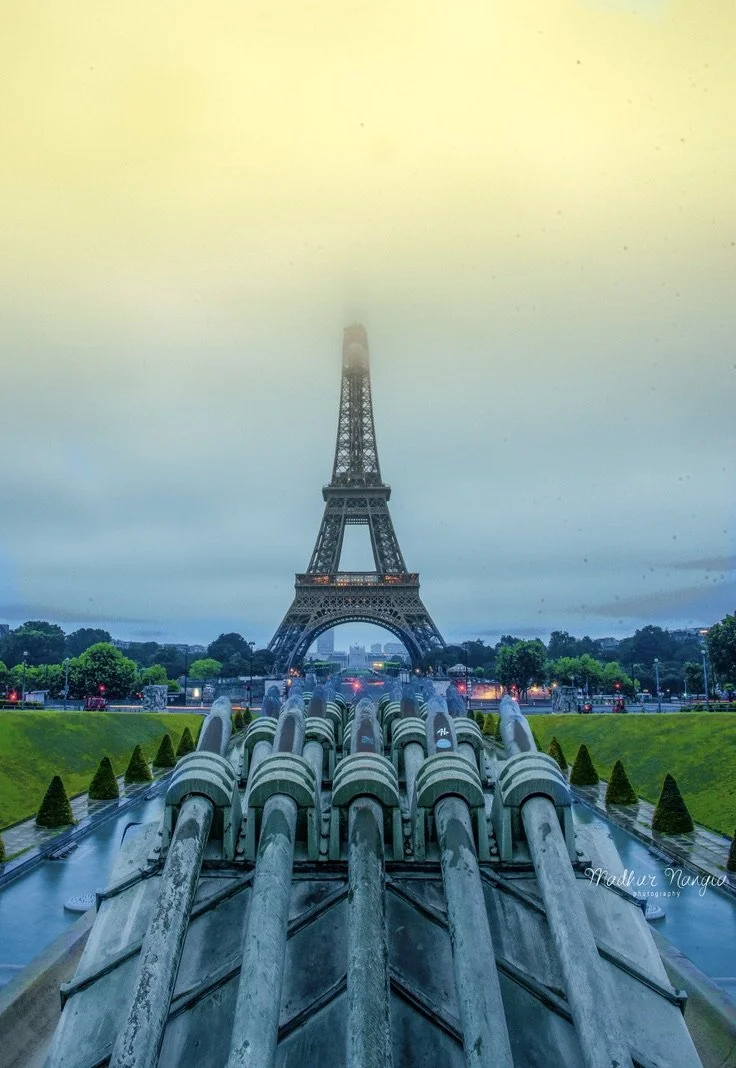
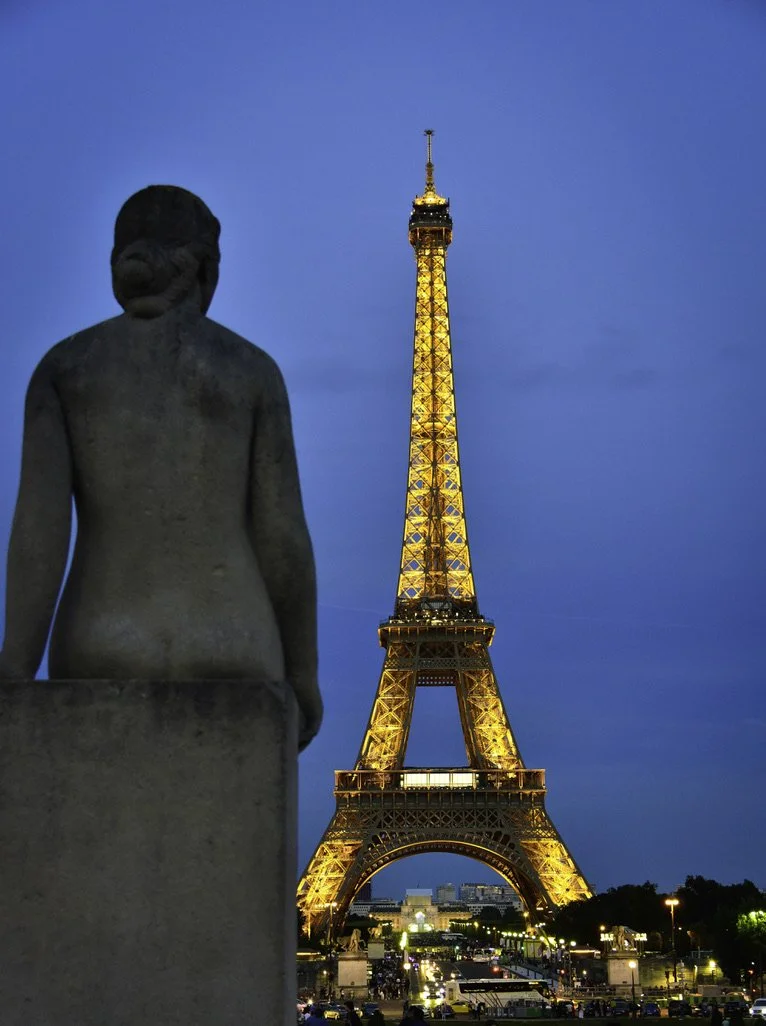
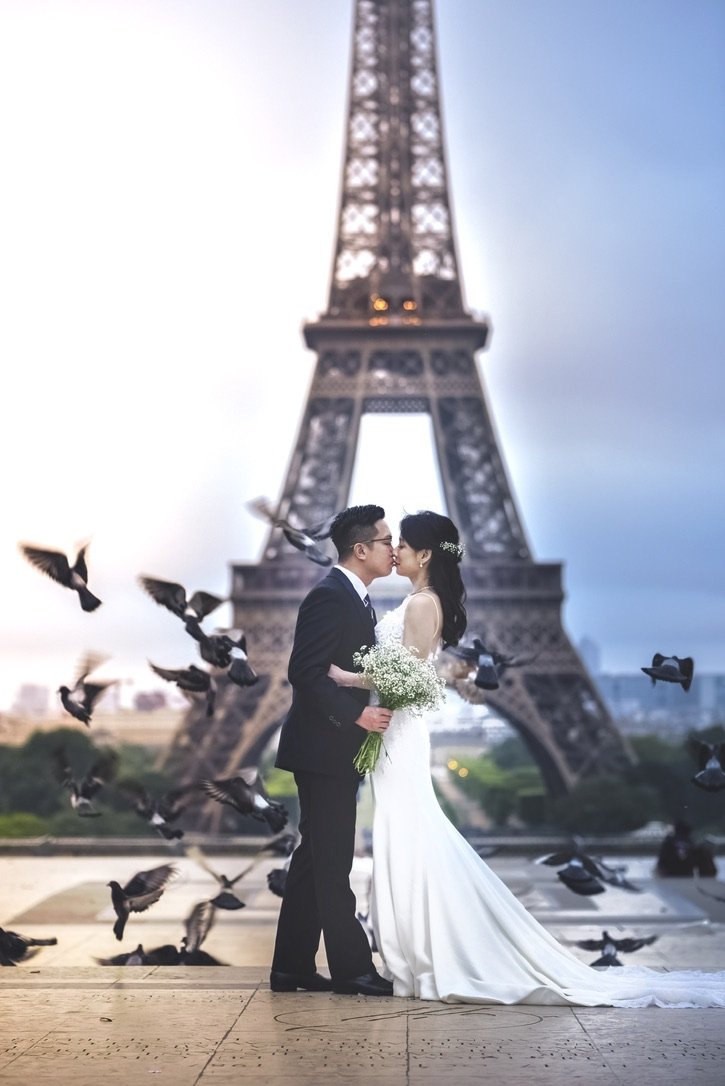
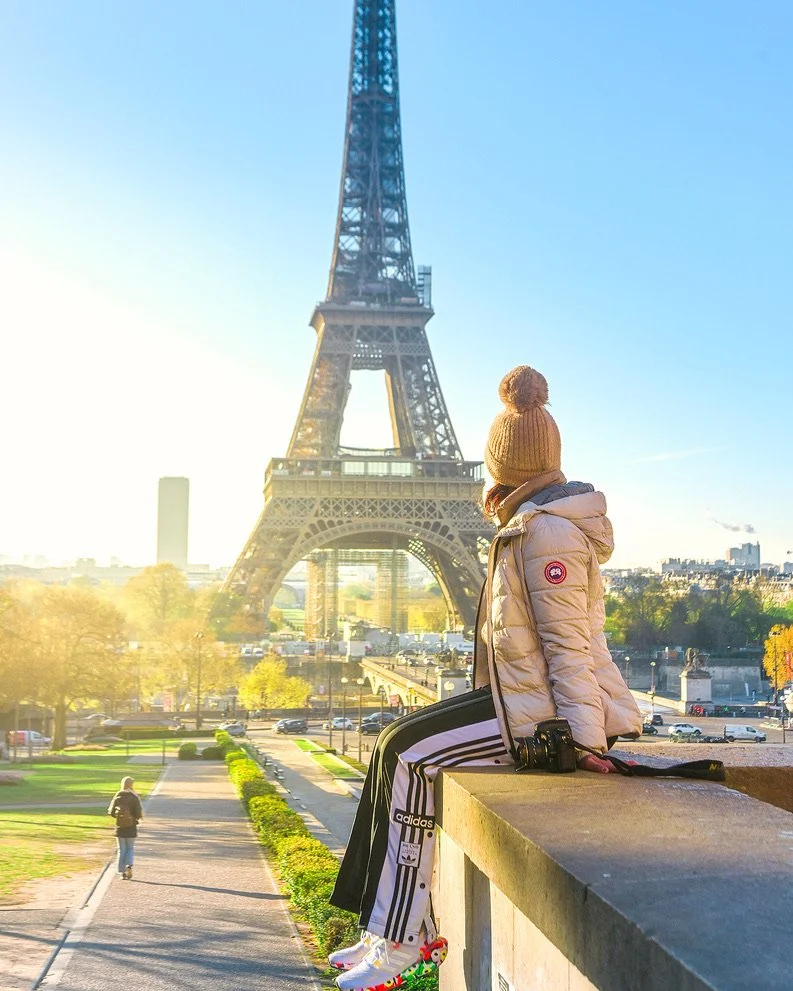
Metro Station: Trocadero (Line 6, 9)
Best Times: Early morning before sunrise OR late at night for city lights and trails
Why It Works: One of the best views to photograph the Eiffel Tower
Trocadero gives you one of the best views to photograph the Eiffel Tower, period. But timing is everything.
Early morning (before sunrise): You'll have the place almost entirely to yourself. When you're standing at Trocadero facing the Eiffel Tower, the sunrise comes diagonally behind the tower. This creates beautiful backlighting, and most importantly, no crowds fighting for the same spot.
Late at night: This is when you get the magic of city lights and night trails. After 11 PM, the area becomes almost entirely local—couples on evening walks, teenagers hanging out, real Parisians living their lives. The Eiffel Tower's hourly sparkle show happens against this authentic backdrop instead of a sea of tourist phones. The traffic on the roads below creates beautiful light trails, and the city lights add depth to your composition.
Pro tip: For night trails, you'll need a tripod and longer exposures to capture the flowing traffic lights around the tower. The combination of the illuminated Eiffel Tower with the city lights creates shots that feel alive and dynamic.
Your Next Steps: From Tourist to Photographer
Here's what I wish someone had told me before my first Paris photography trip: the best shots happen when you stop trying to photograph Paris and start trying to understand it.
The key: Pick 2-3 locations from this guide and spend real time there. Watch how the light changes, how locals use the space, how the energy shifts throughout the day. Don't just arrive, snap, and leave.
Plan smart routes: Trocadero sunrise, then Montparnasse sunset. Bir Hakeim afternoon, then Pont Alexandre III golden hour. Photography is as much about logistics as it is about composition.
The reality: Paris reveals itself slowly. Even seasoned photographers discover something new with each visit. The secret isn't seeing everything—it's seeing a few things really well.
Get in touch
If you're planning a photography trip to Paris and want to explore these locations with someone who knows them well, I offer photo tours where we visit these exact spots. Sometimes, the best way to learn photography is to shoot alongside someone who's already figured out the timing and positioning.
What questions do you have about photographing Paris?
Connect on social channels above, or drop a line below.